Home / Search results 24
Choose filters
Cancel
Validate
Choose filters
Validate
There are no tags available for the photos currently filtered
Validate
Validate

 23. Here I have made the lid for the bottom, and am cutting out the gasket that will go between the lid and the flange. Next, see how the pillow base was made and the whole thing gets assembled together.
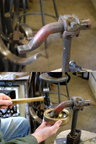 22. Using another very special stake to create the recessed flange that will allow the bottom lid to fit on and remain flush with the rim.
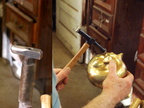 21. Using the special stake shown on the left to form and smooth the muzzle and nose.
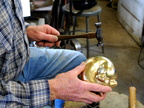 20. Having been annealed one final time, I start the final planishing, using a smaller hammer.
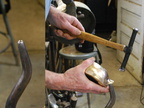 19. More work on the ear with yet another stake.
 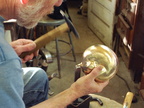 18. Working on the ear some more with a different stake.
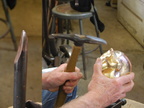 17. More work on the ear, getting it more elongated, using the stake shown on the left.
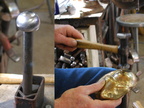 16. Using the ball stake on the left to planish higher up from the edge.
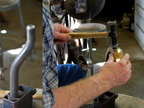 15. Starting the job of planishing at the bottom, using the stake shown on the left.
 14. Doing some forming on a sand bag, pushing the metal out from the inside.
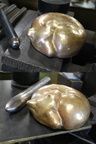 13. Pushing out the right ear again a couple more times. Annealing that area between steps. This had to be done several times. To try to do it all at once would very likely split the metal open.
  12. Annealing again.
 11. Here the other ear has also been pushe out using a different tool.
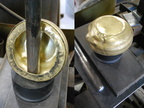 10. This dog had one ear that stood up and one that flopped over. Here I'm using the hydraulic press to start pushing out the one ear.
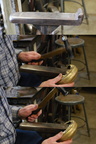 9. Using the special back part of the raising stake to achieve the ninety degree bend that forms the flange at the bottom.